Installing
These instructions should help you install NetBeans to use for the course. We will do two major things to install it. The first is installing the Java Development Kit (JDK) from Oracle, Java’s owner. The second is installing the NetBeans application from the Apache Foundation. NetBeans runs on Windows, Mac, and Linux. Windows instructions are given first below followed by MacOS instructions. It is assumed Linux users are already familiar with installing software like NetBeans. It’s possible to use Java without NetBeans, and NetBeans doesn’t work without some version of Java provided by the JDK. So we’re stuck with this two-step install process in order to make sure everything works like it should when we’re done.
First are instructions for installing on Windows, and then instructions for installing on MacOS. After these instructions, there is information about installing plugins the first time you run NetBeans. This needs to be done on Windows and Mac, so after installing, go to the last section on this page to follow this instructions, too.
To install on Windows:
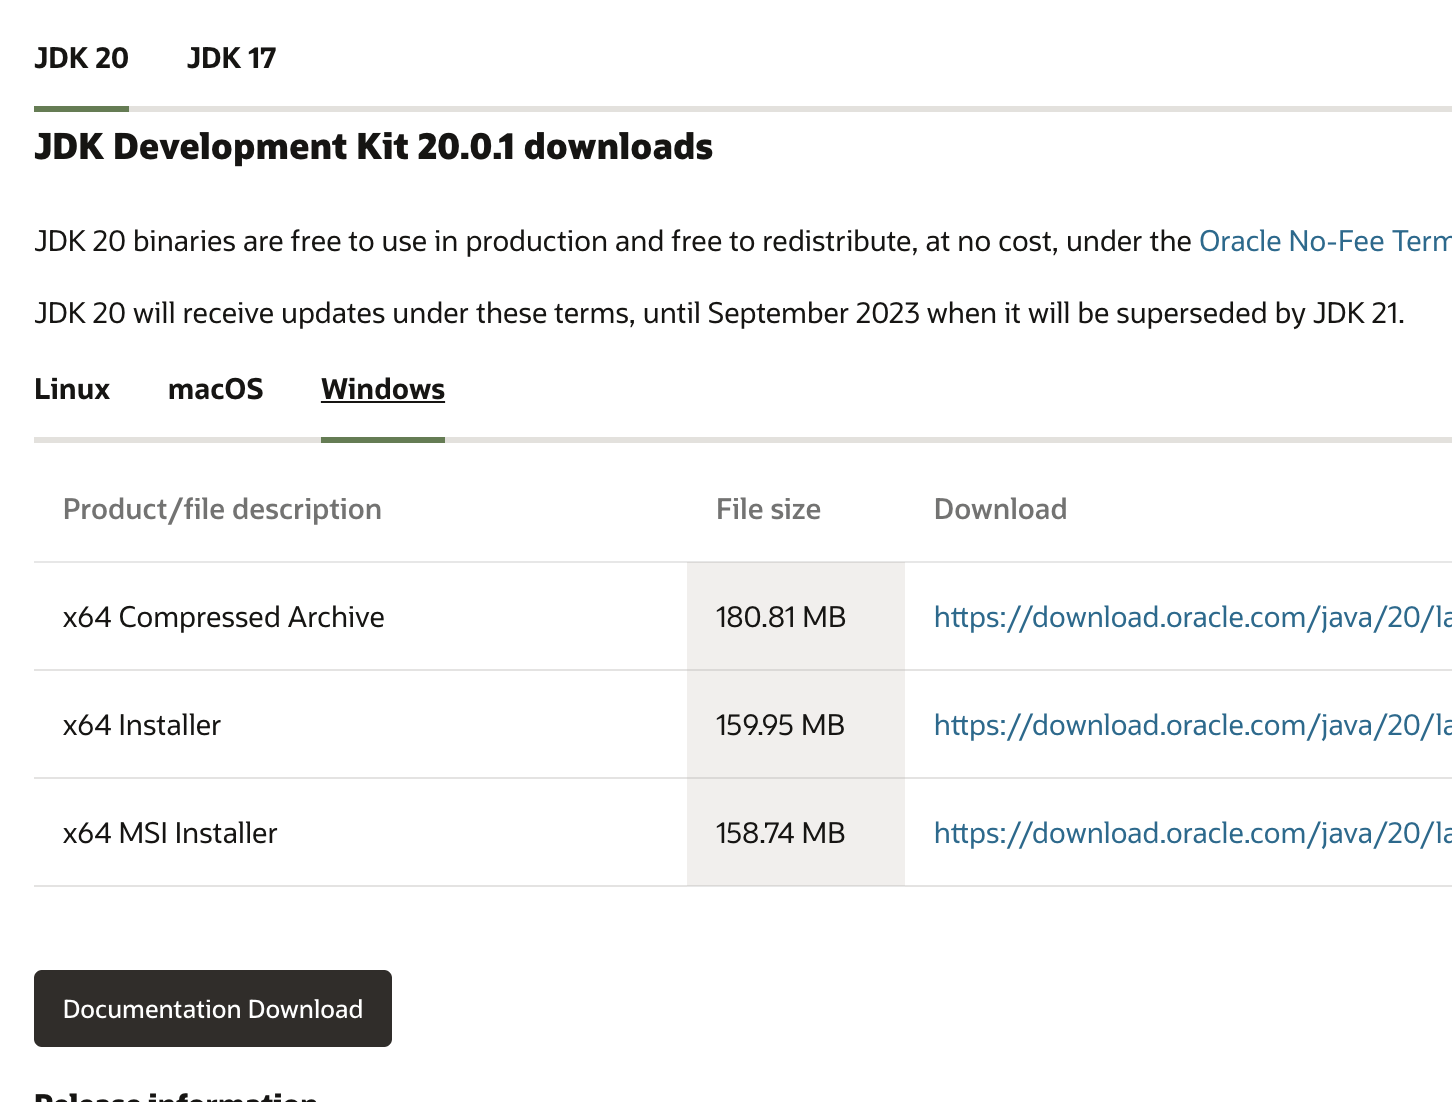
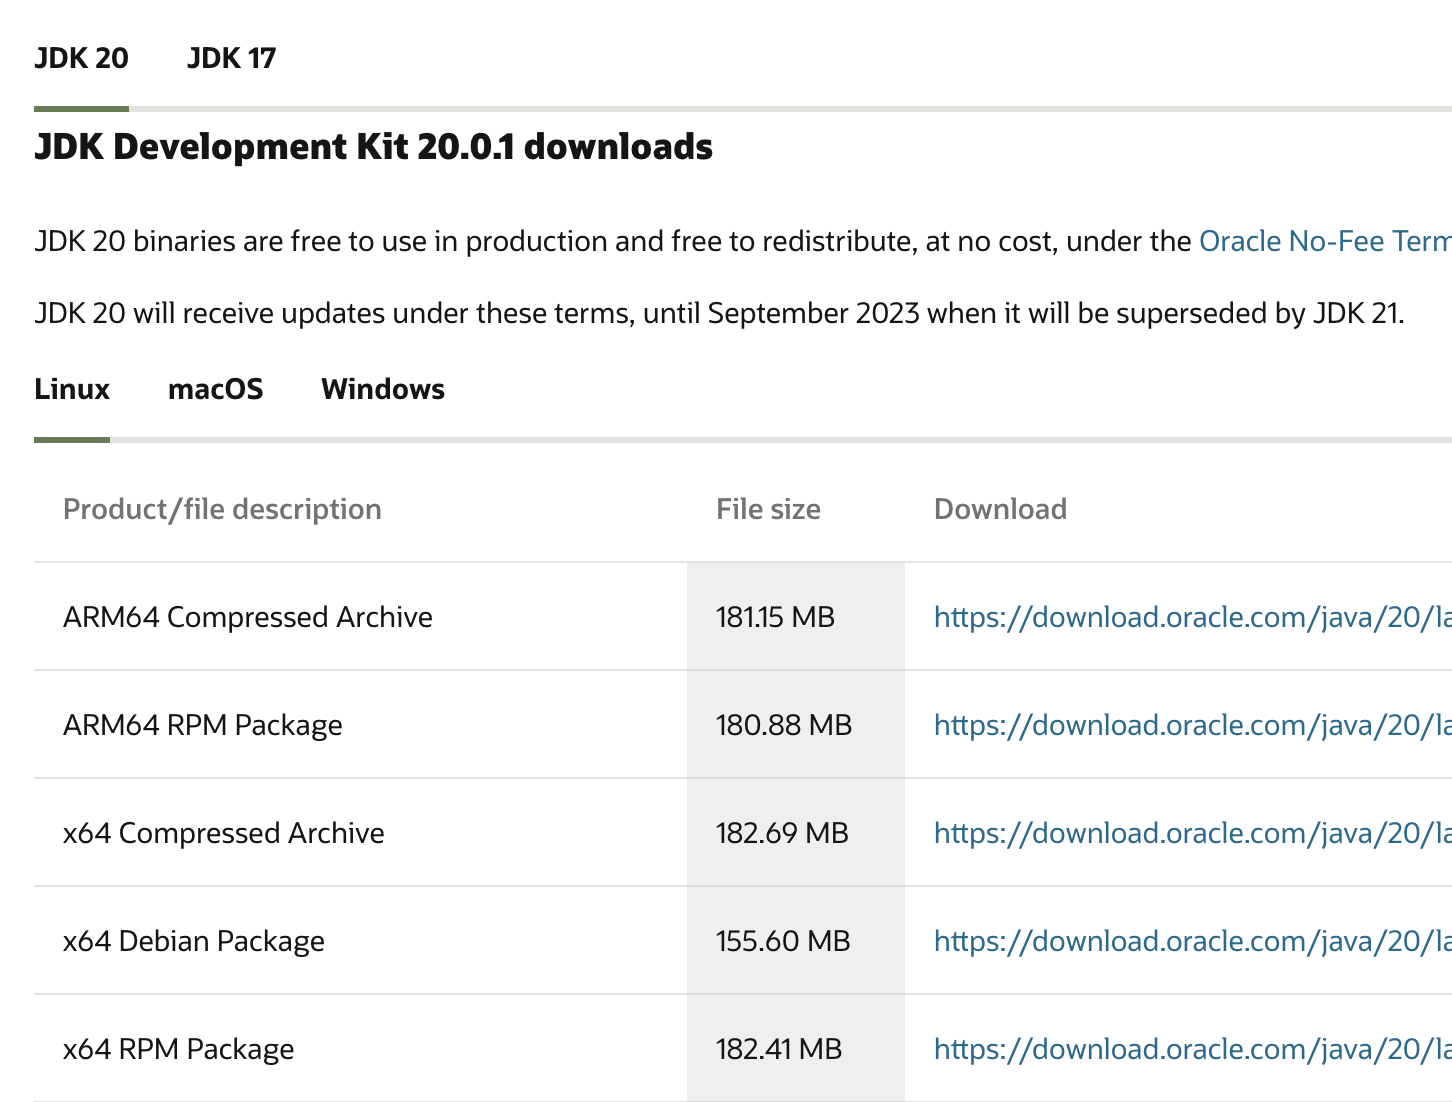
- Visit Oracle’s Java JDK download page. Select Windows for your operating system and then click on the middle link for the Windows x64 installer (.bin.exe file). As of January 2025 Java 23 will be the default version. The picture below from 2023 shows the previous JDK 20 version instead. The site will also show you JDK 21 as the “long term support version”. Either should work with NetBeans.
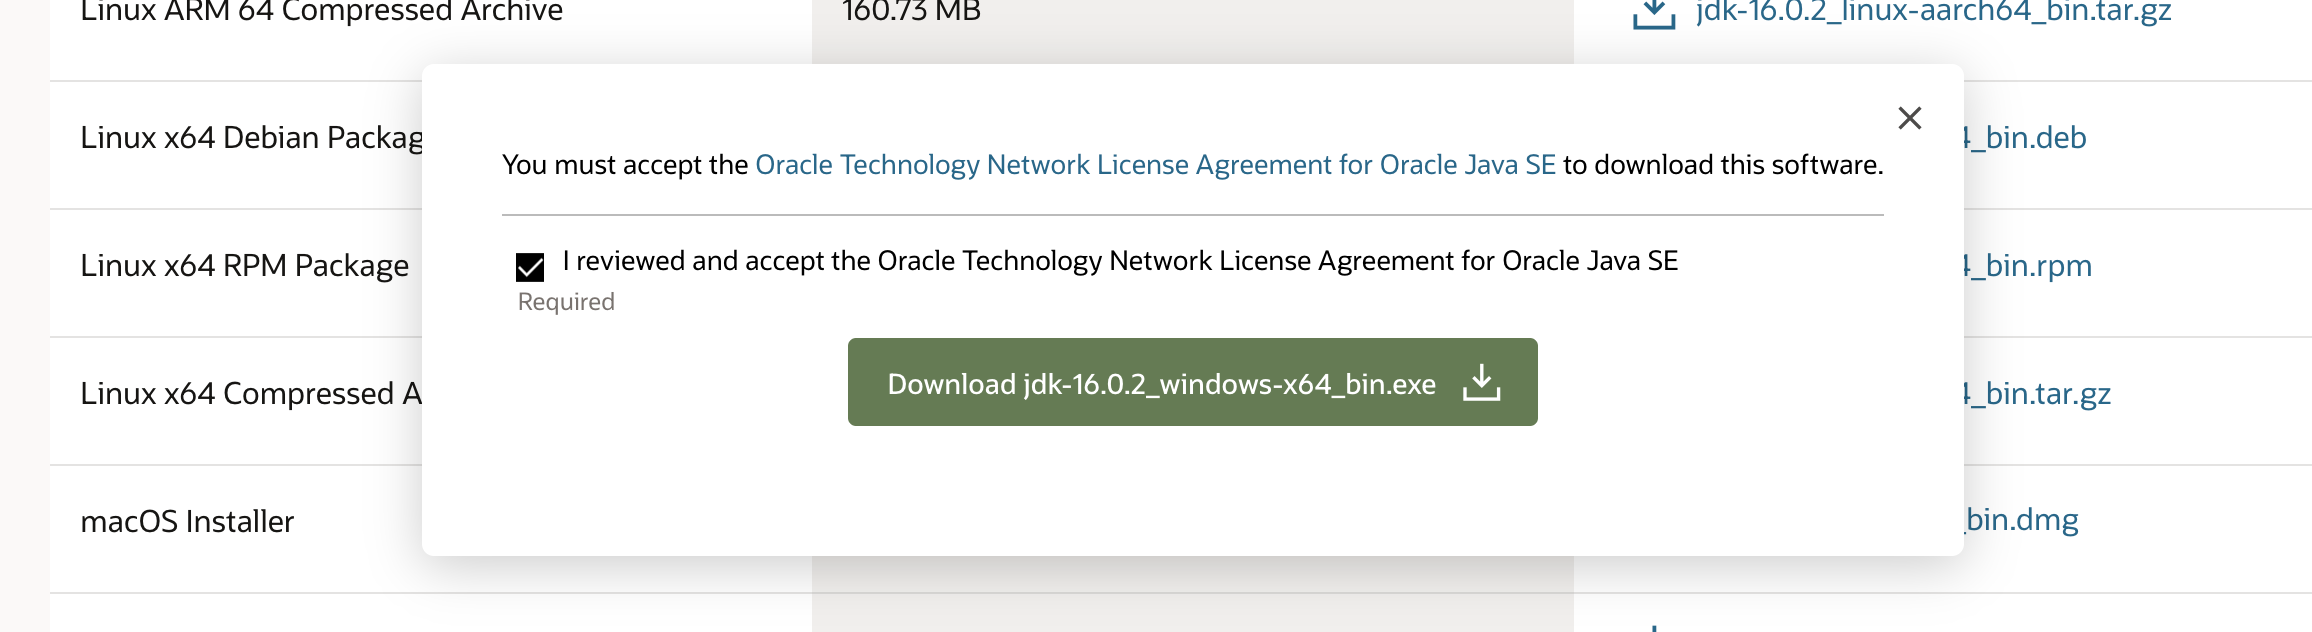
- If you get a pop-up similar to the one shown below, click the checkbox to acknowledge the license agreement and then click the Download jdk… button
- Once it’s downloaded, run the installer and follow its instructions. Click through to accept the default install location and then click Close when it’s finished. There’s no need to view tutorials or other pages the installer makes available to you at the end. Just click Close instead of Next Steps on the Complete install window.
- Now install Netbeans from its download page. As of January 2025, NetBeans 24 is the latest version. The picture below shows an older version.
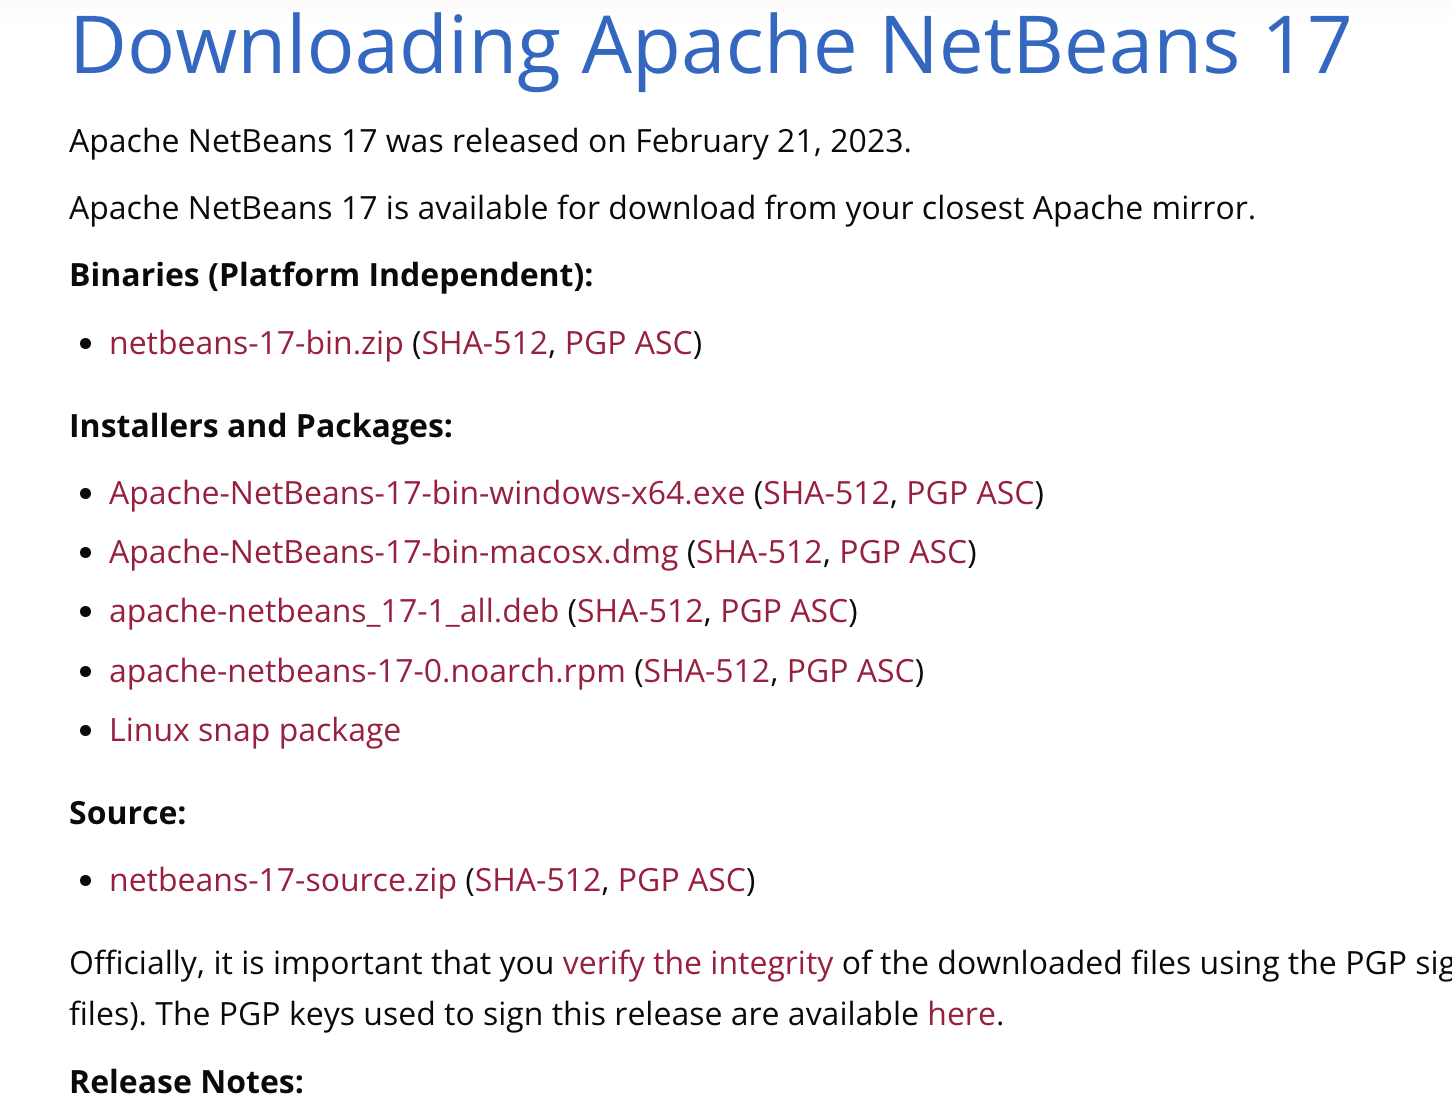
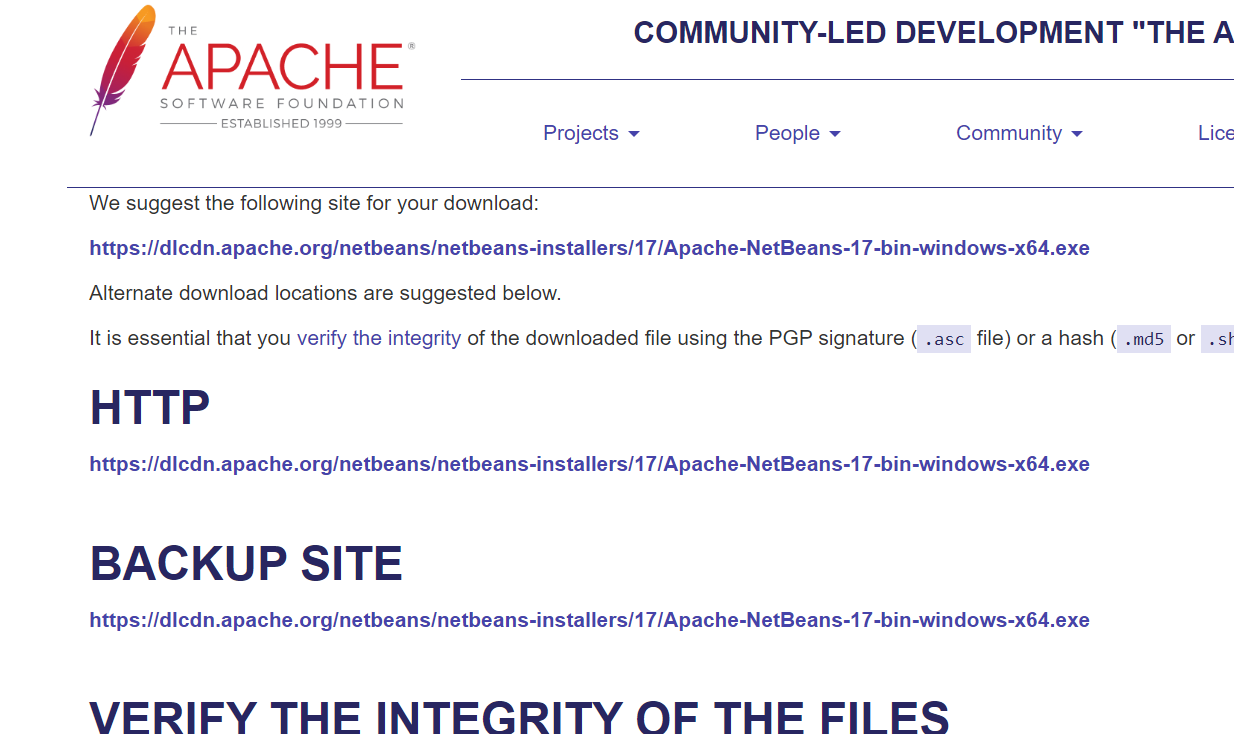
- Under “Installers and Packages”, choose the windows-x64.exe link. At this point, the download might begin or the website may ask you to choose which server to download from. If this happens, click the suggested link to begin the download.
- The NetBeans download is somewhat slow, so wait for it to complete. Once it’s complete, open the installer. You’ll most likely have to give Windows permission to run the file or allow it to make changes to your machine.
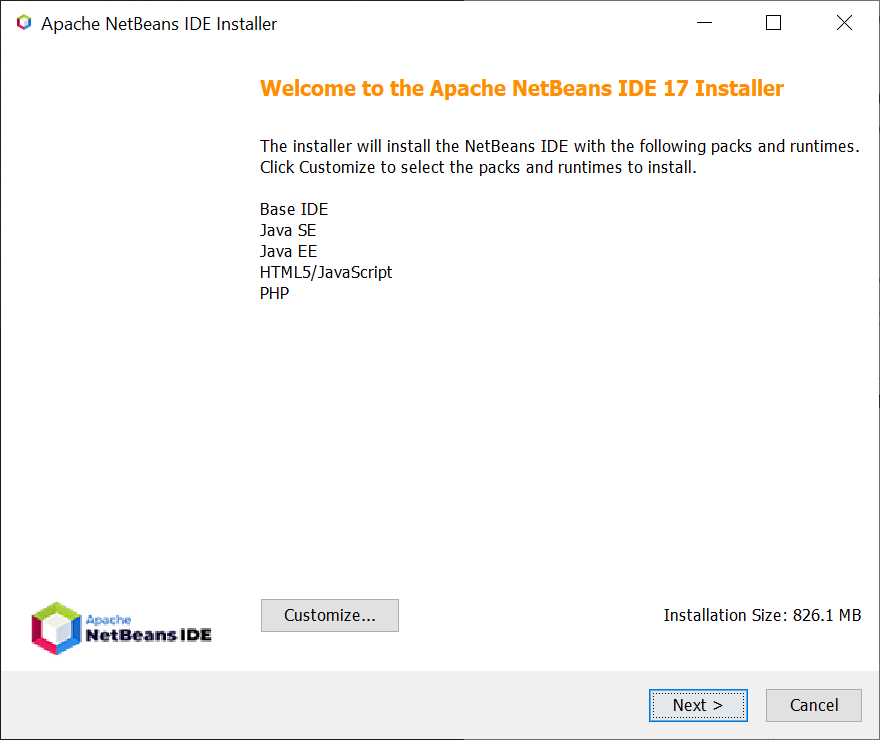
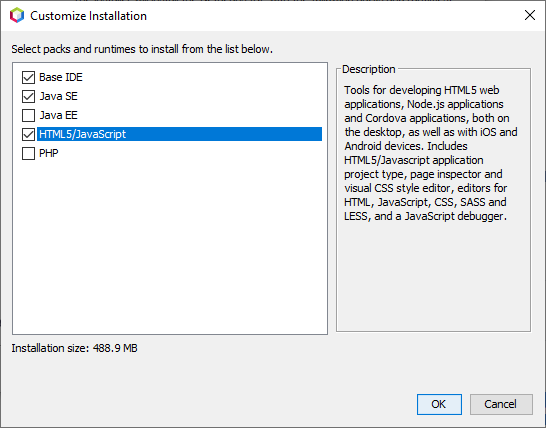
- The default install has some things you don’t need for C112. You may optionally select Customize to remove those. If you’re not concerned about saving 200 MB of disk space, I would skip this step.
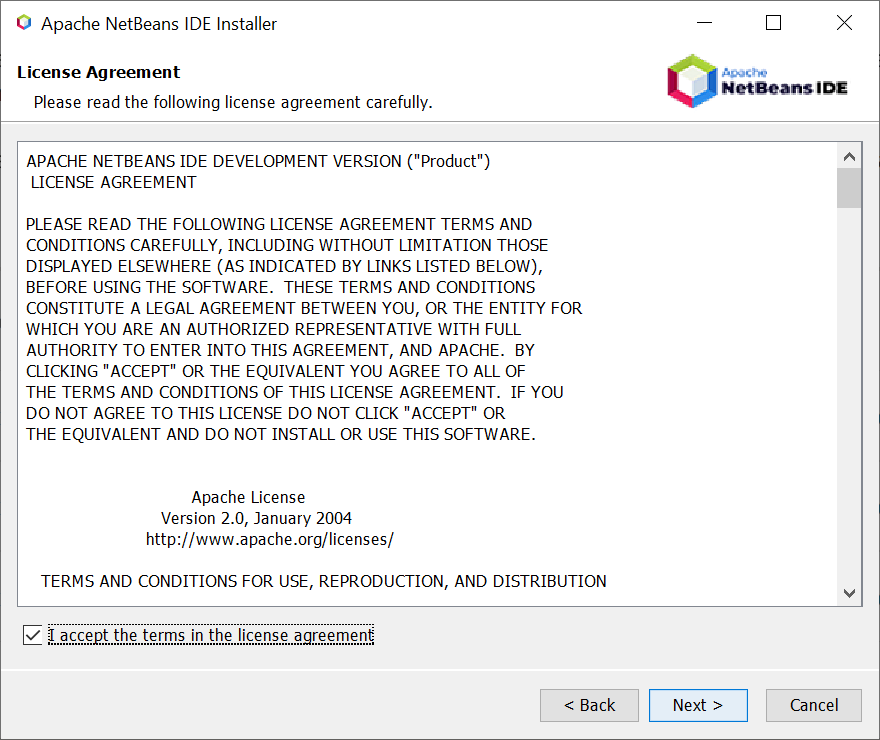
- After agreeing to the license, you’re almost there.
- A good sanity check that things will work smoothly in the install process is to make sure NetBeans has found the JDK you installed above. You should see it under “JDK for the Apache NetBeans IDE”.

- Click through the rest of the screens of the installer and allow the somewhat long install process to complete. Click Finish when it’s complete.
To install on MacOS:
- Visit Oracle’s Java download page. Scroll down, select macOS and click on the link for the MacOS DMG installer for your mac. If you have Apple silicon (M1, M1 Max, M1 Pro, etc.) select the Arm 64 DMG. If you have an Intel processor, select the x64 DMG installer. The picture below shows Java/JDK 20 as the latest version, but as of January 2025, Java/JDK 23 will be the default version. You can also choose the Long-Term Support Version JDK 21. Either should work with NetBeans.
- If you get a pop-up, click the checkbox to acknowledge the license agreement and then click the Download jdk… button
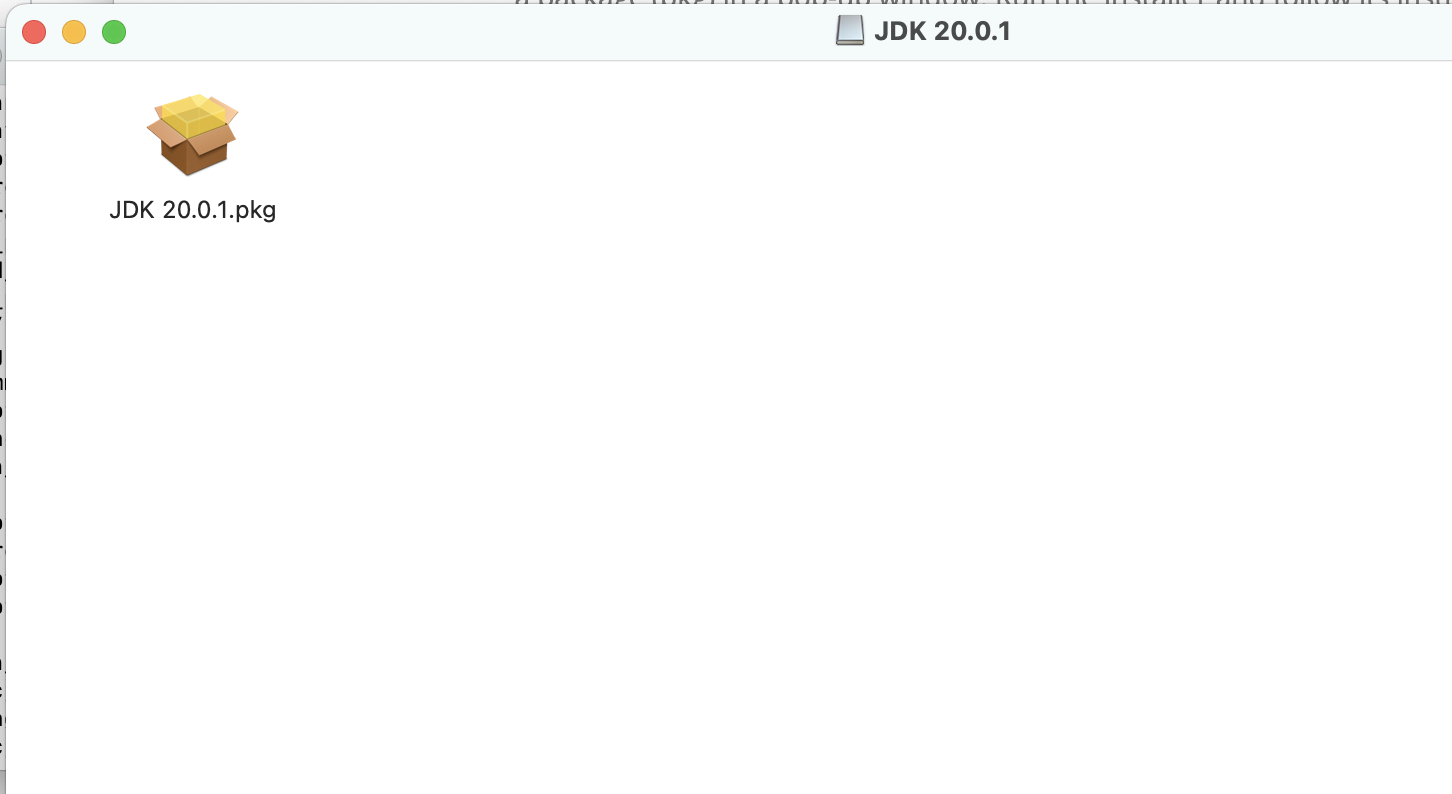
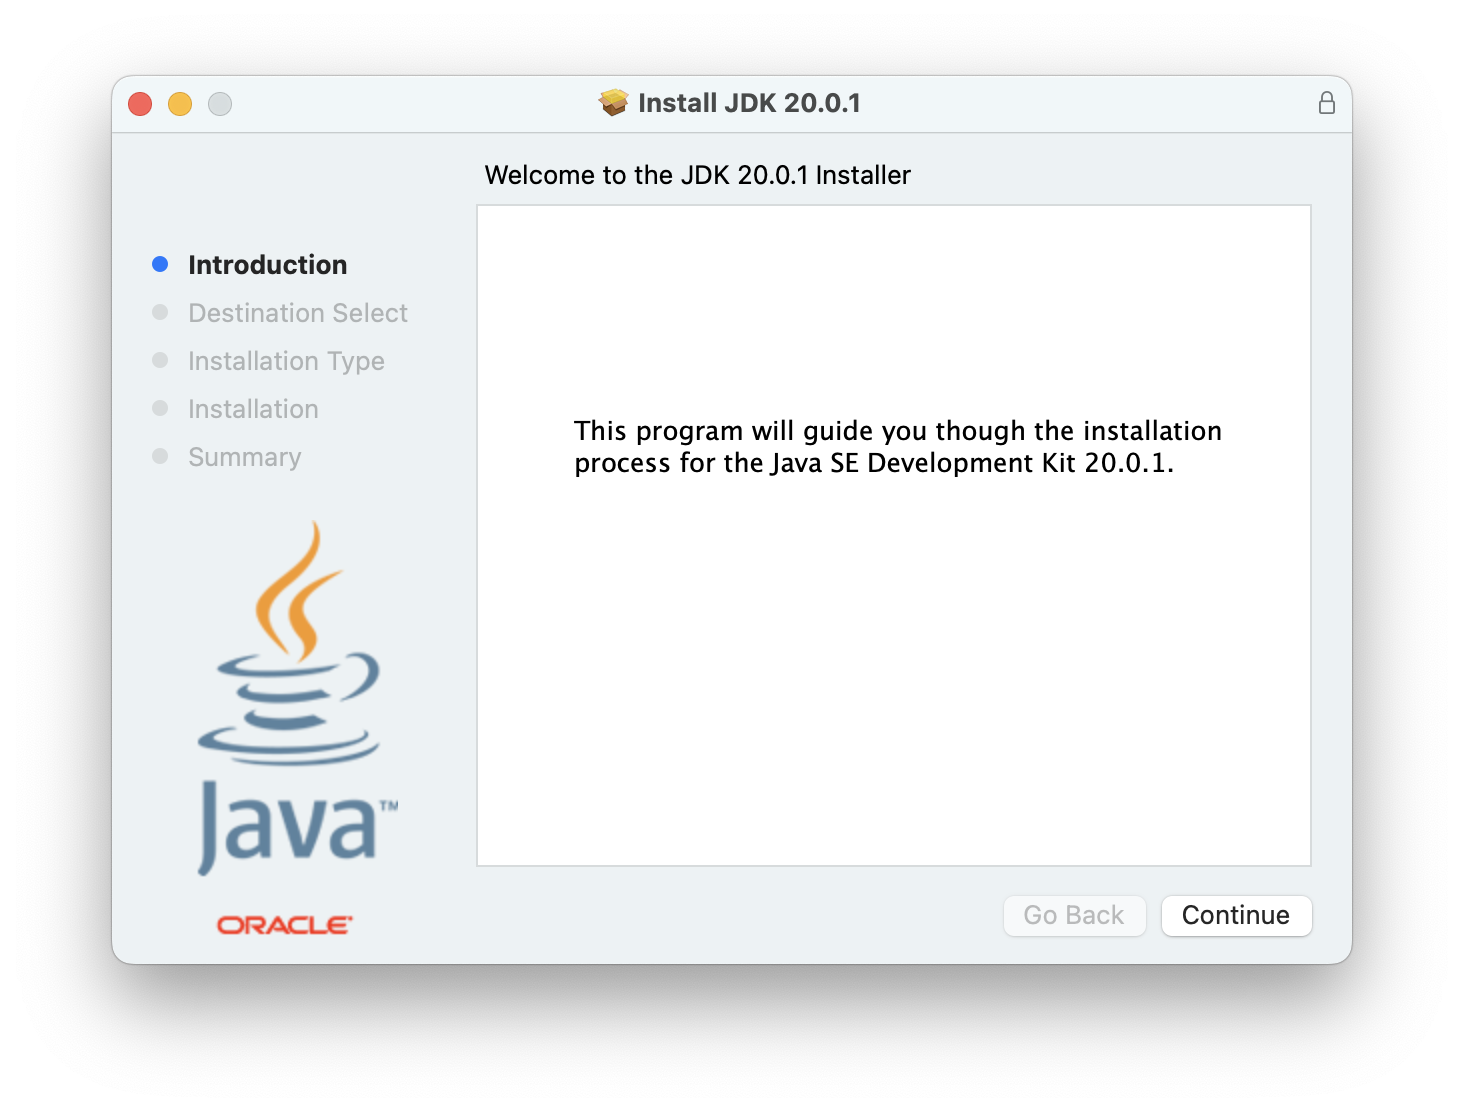
- Once it’s downloaded, open the disk image file, which will show you the installer as a package (pkg) in a pop-up window. Run the installer and follow its instructions. It’s likely you’ll have to give administrative permission for Java to be installed in your system. After successful completion, you’ll be asked to keep or discard the disk image file.
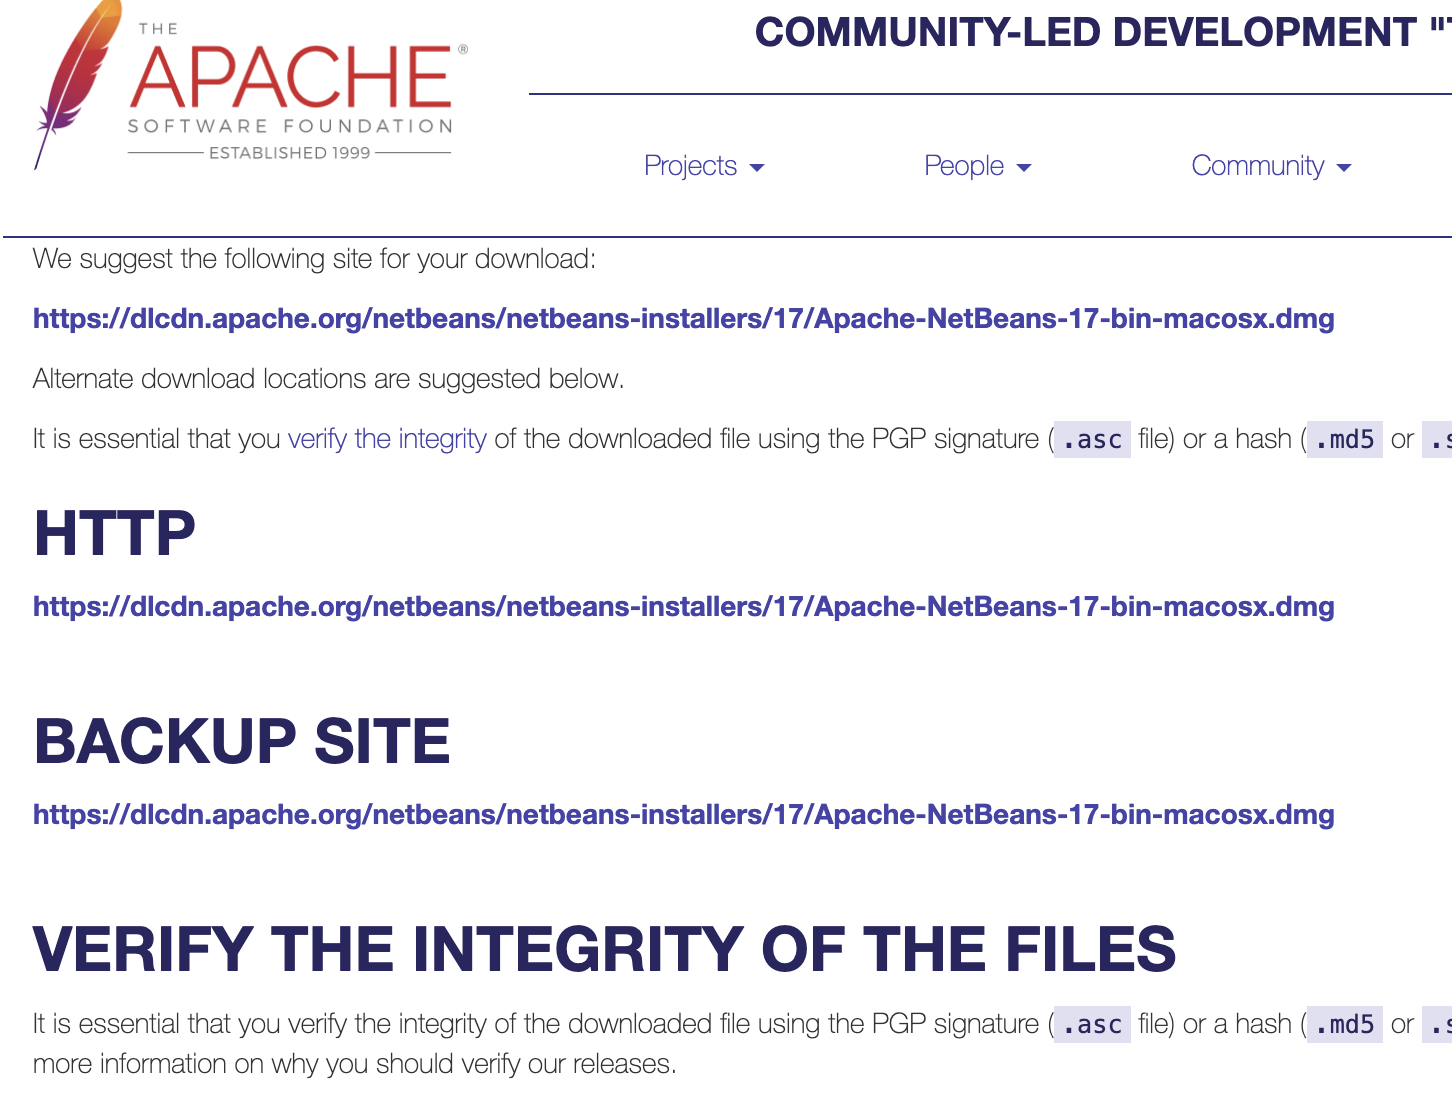
- Now install Netbeans from its download page. Picking the latest version and clicking Download is a safe choice for most Macs. If your laptop is extremely old (i.e. Apple no longer provides software updates for it), you will need to install an older version of NetBeans like NetBeans 12 and JDK 17. You should contact me directly if you have an out-of-data Mac and need help installing these old versions.
- Under “Installers and Packages”, choose the macosx.dmg link to begin the download.
- At this point, the download might begin or the website may ask you to choose which server to download from. If this happens, click the top link to begin the download.
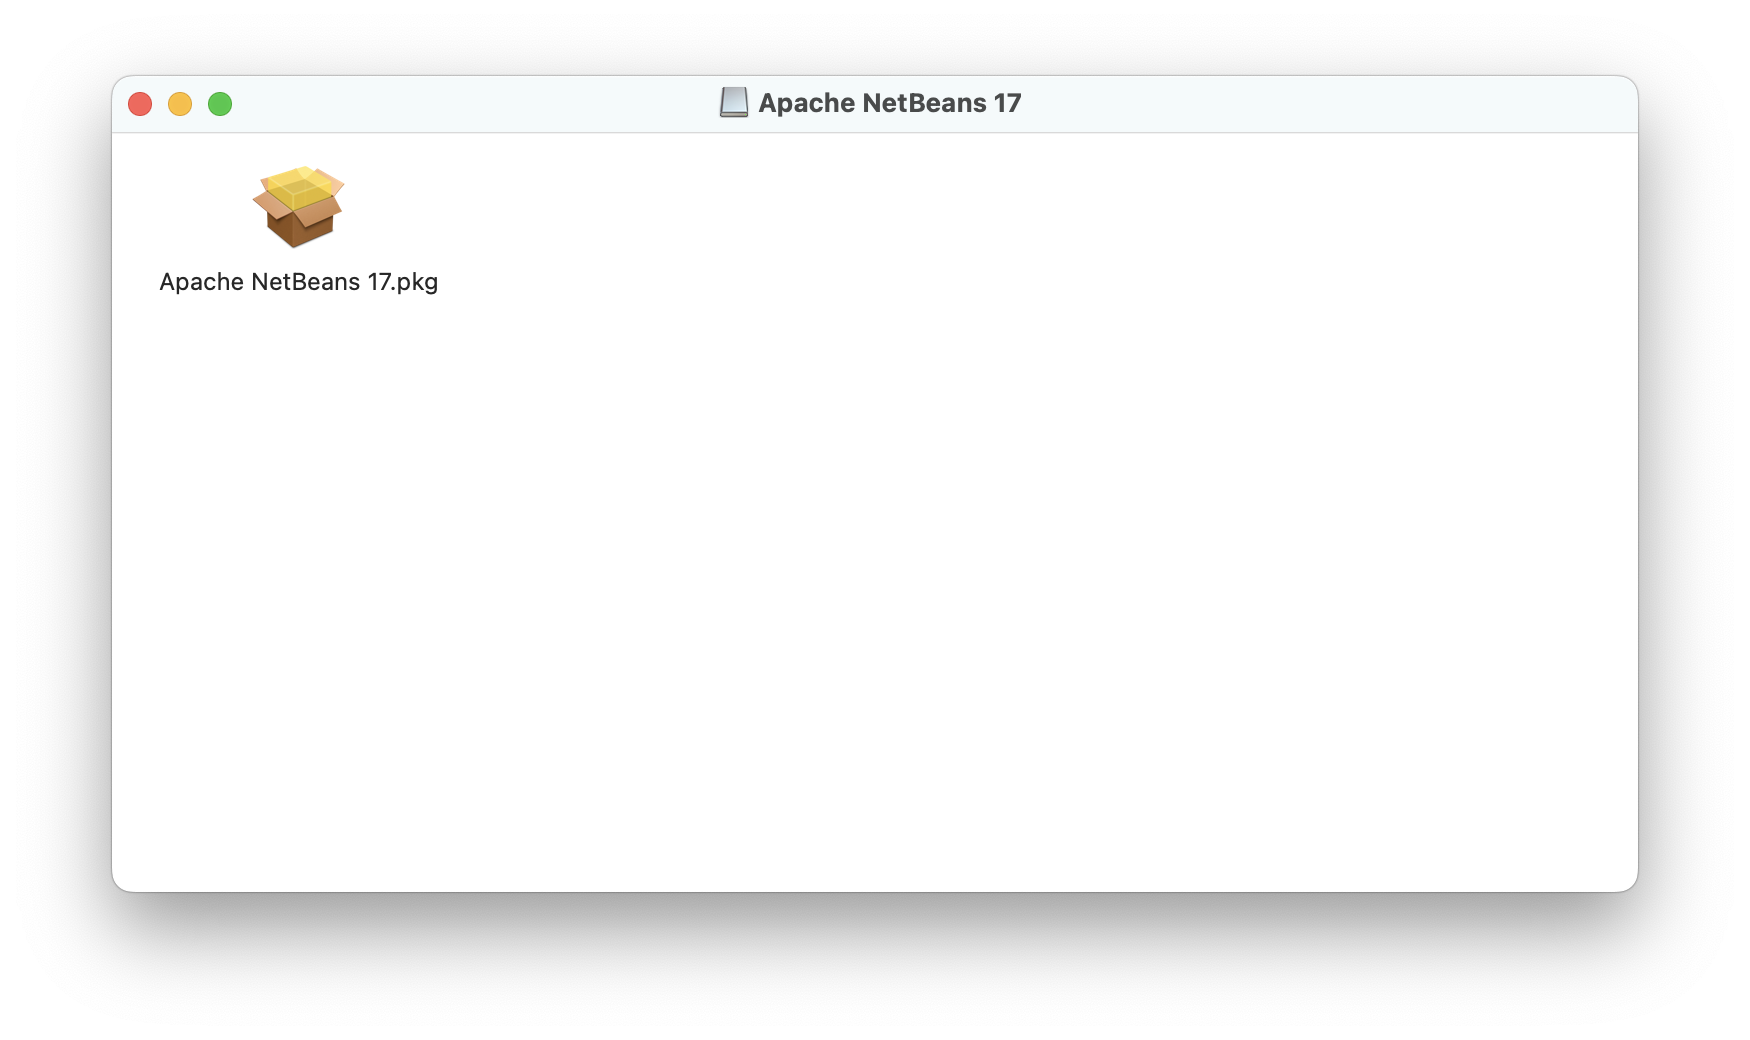
- The NetBeans download is somewhat slow, so wait for it to complete. The download will be a package (.pkg) file. When the PKG file is opened, you will see the NetBeans install program in a pop-up window and will be able to run it.
- Click through the installer screens to install. You will have to “Allow” NetBeans to proceed at least once, and you will need to Agree to the license terms and click for the default Install location.
- After installing successfully, there will be a NetBeans folder in your Applications folder, and the app can be opened from there.
Create Java Projects
Once NetBeans is installed. You’re ready to create Java projects. This next page describes that process.